Introduction: The Importance of Proper Removal
Removing a single handle kitchen faucet with a sprayer may seem like a daunting task, but with the right tools and step-by-step instructions, it can be a manageable DIY project. Proper removal is crucial for replacing a faulty faucet, performing maintenance, or upgrading to a new model. This guide provides a detailed overview of the removal process, ensuring that you can confidently tackle the task and successfully remove your single handle kitchen faucet with a sprayer.
Removing a Single Handle Kitchen Faucet with Sprayer: A Step-by-Step Guide
-
Gather the Necessary Tools and Materials
Before beginning the removal process, assemble all the tools and materials required. These may include:
- Adjustable wrench
- Screwdriver (depending on the faucet)
- Basin wrench (if needed)
- Allen wrench (if needed)
- Plumber’s tape
- Bucket or towels (to catch any water that may spill)
Having all the necessary tools at hand will make the removal process more efficient and prevent any delays.
-
Turn Off the Water Supply
Before attempting to remove the faucet, it is essential to turn off the water supply. Look for the shut-off valves beneath the sink and turn them clockwise to close them fully. If there are no individual shut-off valves, consider shutting off the main water supply to the house temporarily. To ensure that the water supply is completely turned off, test the faucet by turning it on and confirming that no water flows.
-
Disconnect the Water Supply Lines
Once the water supply is turned off, proceed to disconnect the water supply lines. First, place a bucket or towels underneath the connections to catch any remaining water in the lines. Using an adjustable wrench, carefully unscrew the nuts connecting the supply lines to the faucet’s water inlet ports. Gently remove the water supply lines and set them aside.
-
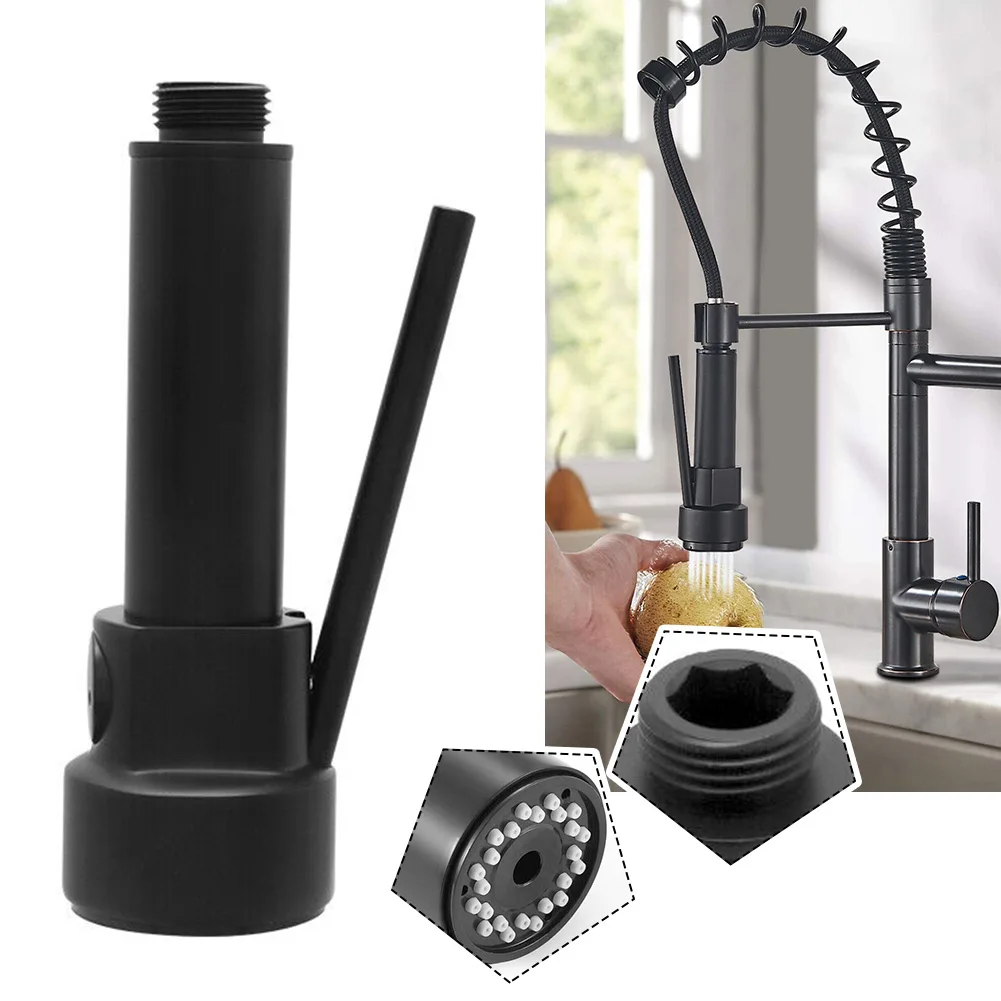
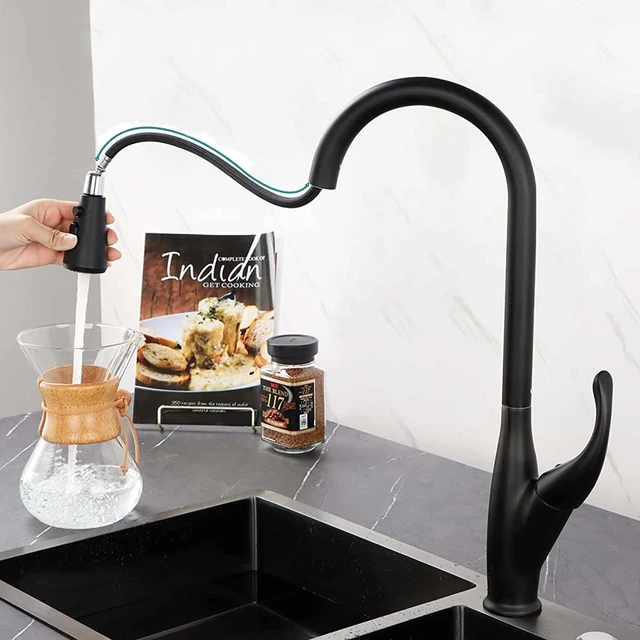
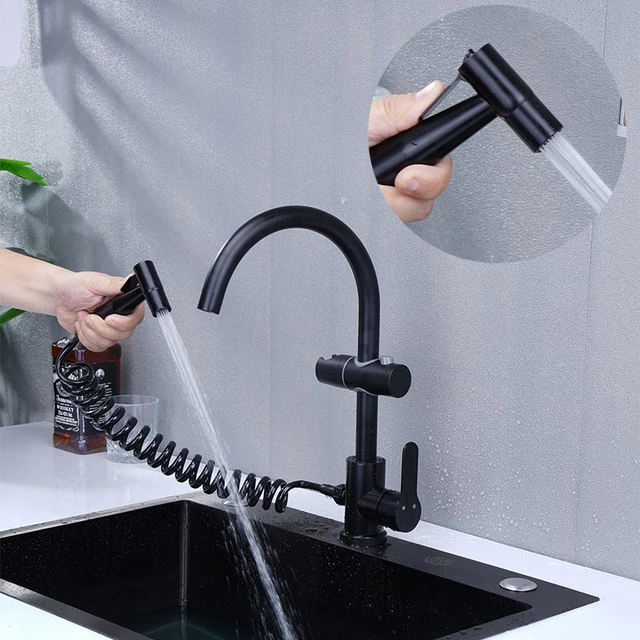
Remove the Sprayer Hose (if applicable)
If your single handle kitchen faucet has a sprayer, you will need to remove the sprayer hose before continuing with the removal process. The sprayer hose is typically connected to the faucet body with a threaded connection. Loosen the connection by hand or with an adjustable wrench and detach the sprayer hose from the faucet.
-
Access the Faucet Retaining Nut
To access the retaining nut that holds the faucet in place, locate the area underneath the sink where the faucet is installed. Clear any objects or clutter obstructing your view. In some cases, the faucet may have a decorative cap covering the retaining nut, which will need to be removed. Use a flathead screwdriver to carefully pry off the cap and expose the nut.
-
Loosen and Remove the Retaining Nut
Using an adjustable wrench or a basin wrench, loosen and remove the retaining nut securing the faucet to the sink. Turn the nut counterclockwise until it is free from the faucet body. Be mindful of any washers or gaskets that may be attached to the nut or the faucet. Set the retaining nut aside.
-
Disconnect the Faucet from the Sink
With the retaining nut removed, you can now disconnect the faucet from the sink. Gently lift the faucet assembly straight up to detach it from the sink’s mounting hole. Some faucets may require a little wiggling or rotating to loosen them. Be cautious while lifting the faucet to avoid damaging any surrounding fixtures or surfaces.
-
Clean the Sink Surface
After removing the faucet, take the opportunity to clean the sink surface thoroughly. Remove any debris, old caulk, or grime that may have accumulated around the mounting hole and clean the surrounding area using a suitable cleaner. This will ensure a clean surface for the installation of the new faucet. You need to avoid other appliances like microwave, dishwasher, refrigerator, etc. while cleaning.
-
Inspect for Any Damage or Leaks
With the faucet removed, inspect both the faucet and the sink for any signs of damage or leaks. Check the integrity of the supply lines, gaskets, and washers for wear and tear. If any components appear damaged or worn, consider replacing them before installing the new faucet.
-
Properly Dispose of the Old Faucet
Once you have successfully removed the old faucet, it is important to dispose of it responsibly. Check local regulations regarding the disposal of plumbing fixtures to ensure compliance. Some areas may require specific disposal methods or recycling options for old faucets. If possible, consider recycling the old faucet to minimize environmental impact.
-
Prepare for the Installation of the New Faucet
With the old faucet removed and disposed of, you are now ready to prepare for the installation of the new faucet. Carefully review the instructions provided with your new faucet to familiarize yourself with the specific installation requirements. Gather all the necessary components and tools as recommended by the manufacturer. Take note of any additional steps or considerations specific to your new faucet model.
-
Clean and Prepare the Sink Surface
Before installing the new faucet, it is essential to clean and prepare the sink surface to ensure a secure and watertight seal. Remove any residue or debris from the mounting hole and thoroughly dry the area. If necessary, apply a thin layer of plumber’s putty or silicone caulk to create a proper seal between the sink and the faucet. Ensure that the surface is smooth and even to facilitate a secure installation.
-
Install the New Faucet
Follow the manufacturer’s instructions for installing the new faucet. Begin by carefully placing the faucet assembly into the mounting hole, aligning it properly. Depending on the model, you may need to insert the supply lines through the mounting hole before securing the faucet. Once in position, secure the faucet by attaching and tightening the retaining nut. Use an adjustable or basin wrench to ensure a snug fit, taking care not to overtighten and risk damaging the faucet or the sink.
Conclusion: Mastering the Removal Process
Removing a single handle kitchen faucet with sprayer may seem like a daunting task initially, but by following these step-by-step instructions, you can successfully complete the process. Gathering the necessary tools, turning off the water supply, and disconnecting the water supply lines are the crucial initial steps. Removing the sprayer hose (if present), accessing and removing the retaining nut, and finally disconnecting the faucet from the sink will complete the removal process. Take care to clean the sink surface and inspect for any damage or leaks before proceeding with the installation of your new faucet. By carefully following these instructions and taking your time, you will be able to remove your single handle kitchen faucet with a sprayer with confidence and ease.
原创文章,作者:,如若转载,请注明出处:https://turkey-re.com/20240514/removing-a-single-handle-kitchen-faucet-with-sprayer-a-guide/