Essential Tools for Jewelry Making
When diving into jewelry making, having the right tools is critical. These tools enable you to shape, form, and finish your creations with precision and care. Let’s explore the essential tools that should be part of any jewelry maker’s kit.

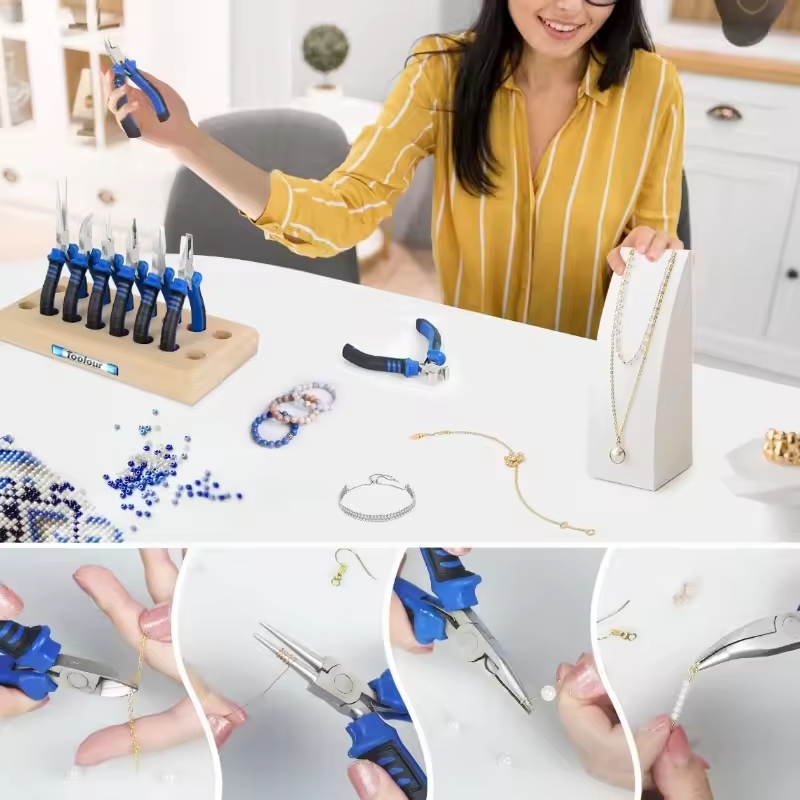
Types of Pliers and Their Uses
Pliers are a must-have in your jewelry making arsenal. They come in various shapes and sizes, each with a specific use.
- Round Nose Pliers: For making loops and curves in wire.
- Chain Nose Pliers: Their flat surface is ideal for gripping and bending wire.
- Flat Nose Pliers: These offer a wider surface, perfect for shaping larger wire pieces.
- Bent Nose Pliers: The angled tip lets you reach difficult spaces easily.
- Crimping Pliers: Used to secure clasps and beads with crimps.
Each pair of pliers serves a unique purpose, and together they form a versatile suite of tools for various jewelry making tasks.
Wire Cutters and Tweezers
You’ll need a reliable pair of wire cutters to cut wires and pins cleanly without fraying. Select a pair that fits comfortably in your hand for ease of use. Tweezers are equally essential. They allow you to handle small parts like beads or clasps with precision, particularly in detailed work where your fingers may be too large.
Hammers and Anvils for Shaping
A jeweler’s hammer and anvil provide the means to shape metals. Use these to flatten, texture, and harden your pieces. The hammer should be lightweight for detailed work but heavy enough to be effective. Anvils should have a smooth, flat surface for efficient shaping.
Soldering Equipment for Metalwork
For jewelry makers working with metals, soldering equipment is vital. This includes a soldering iron, flux, solder, and a pick. They work together to join metal pieces securely. It’s important to use equipment appropriate for the type and size of the pieces you’re working with in order to achieve the best results.
Whether you’re wire wrapping or setting stones, these tools are foundational for creating beautiful, durable jewelry. Remember to invest in quality tools that will last and make the process of jewelry making enjoyable and efficient.
Understanding Different Materials
The materials you choose for your jewelry can vastly affect its look, feel, and durability. To create unique pieces, it’s important to understand the properties and uses of each material.
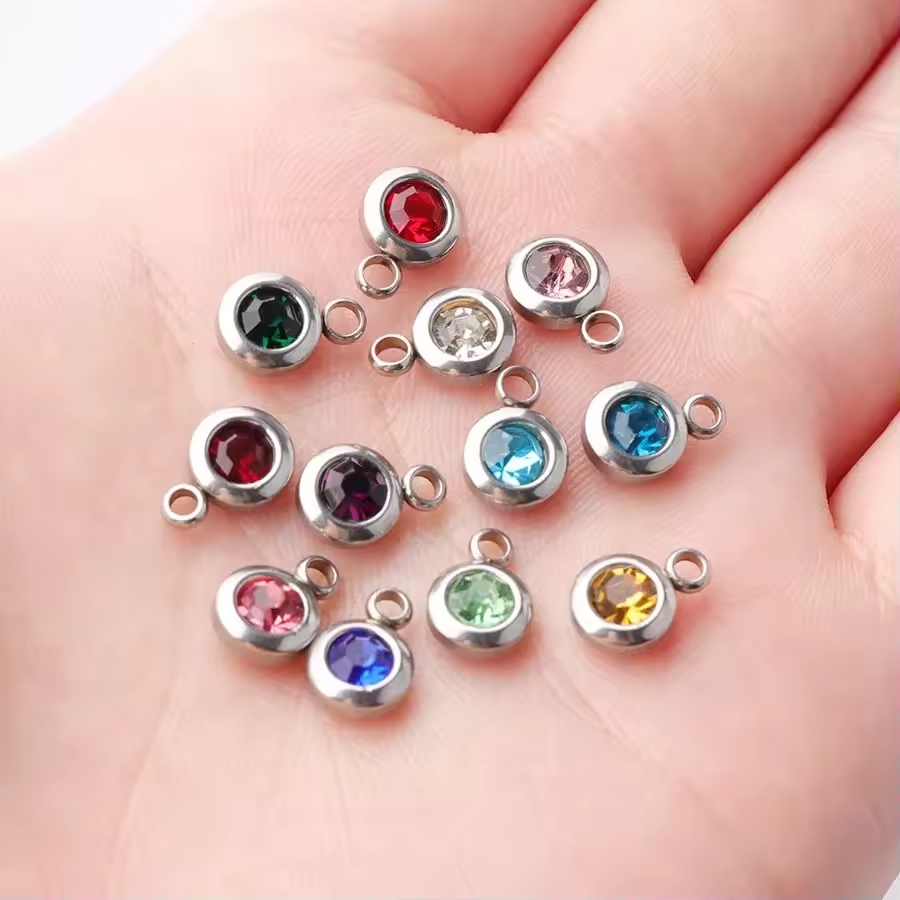
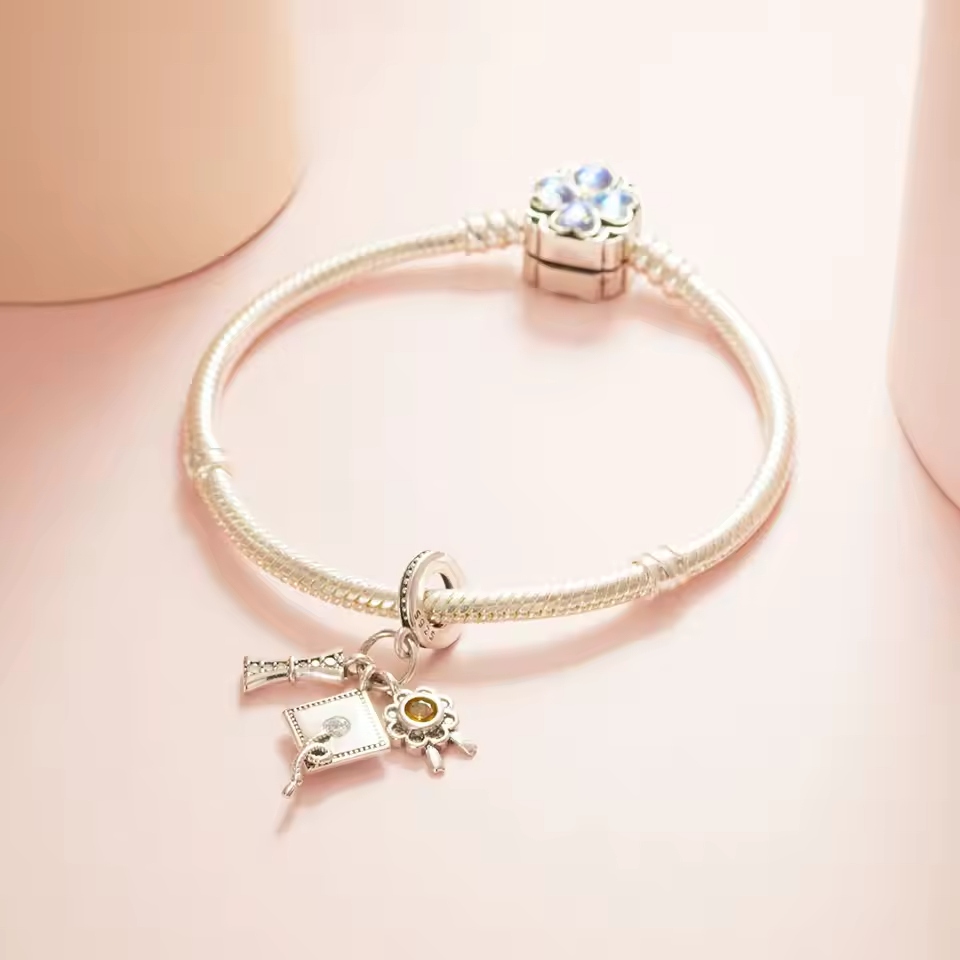
Types of Beads and Gemstones
Beads and gemstones add color, texture, and elegance to jewelry. There are countless varieties, including:
- Glass Beads: Affordable and available in many colors.
- Seed Beads: Tiny beads used for intricate patterns.
- Semi-Precious Gemstones: Like amethyst and turquoise, they add natural beauty.
- Precious Gemstones: Diamonds, rubies, and sapphires for high-end pieces.
- Pearls: Offer a classic look.
- Wooden Beads: Bring an organic, earthy feel.
Each bead and gemstone has its own character, lending itself to different jewelry styles. Consider the color, size, and shape to suit the design of your piece.
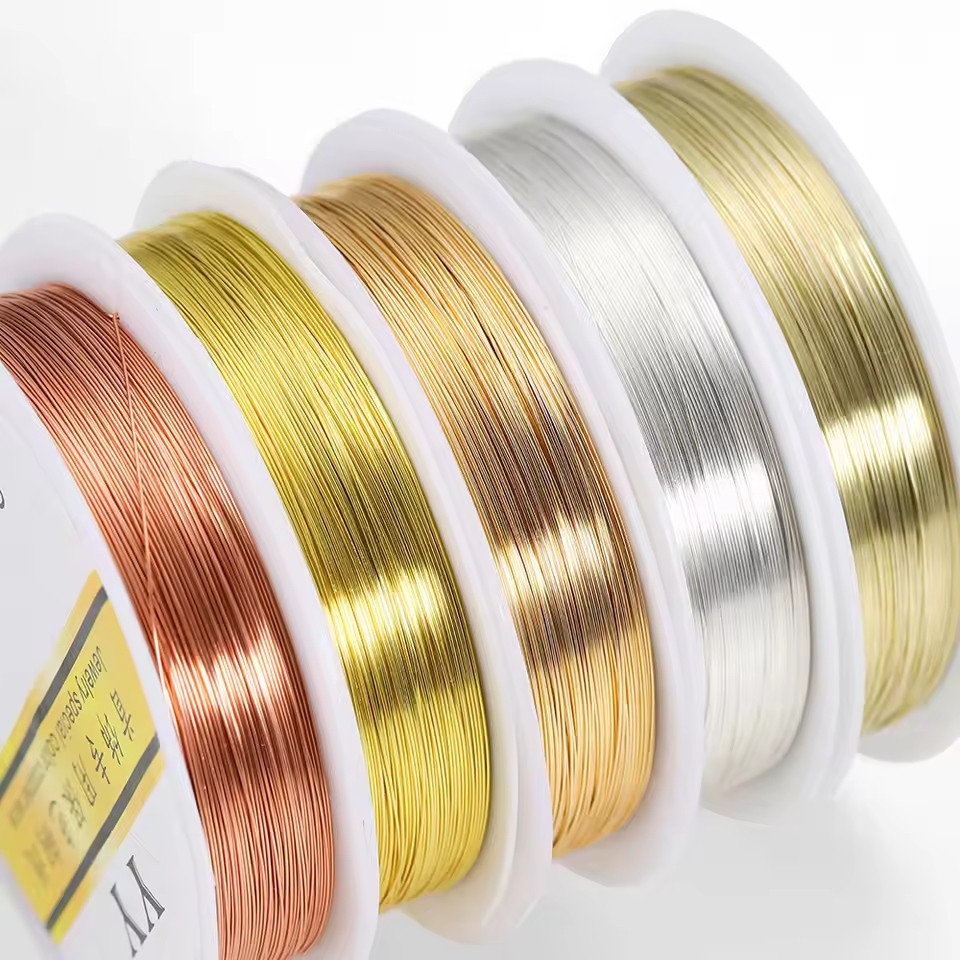
Metals Commonly Used in Jewelry Making
Metals provide strength and structure to jewelry. The most commonly used metals include:
- Silver: Versatile and relatively affordable.
- Gold: Offers various colors based on alloys, such as white, rose, and yellow gold.
- Copper: Known for its reddish-brown color, it’s malleable and affordable.
- Brass: A gold-like appearance without the cost.
- Platinum: A durable and high-end option.
When selecting metals for your jewelry making, consider factors such as cost, malleability, color, and the piece’s intended use.
Alternatives to Metal: Clay, Fabric, and More
If you’re looking for materials beyond traditional metals, several alternatives provide unique advantages:
- Polymer Clay: Offers limitless colors and shapes.
- Fabric: Used in textile jewelry for a soft, wearable touch.
- Leather: Adds a rustic or modern edge, depending on the finish.
- Natural Fibers: Such as hemp or jute, ideal for eco-friendly designs.
These materials can offer a different aesthetic and help you stand out in the jewelry making world. Remember to choose materials that resonate with your creative vision and jewelry making style.
Basic Jewelry Making Techniques
As you delve deeper into the art of jewelry making, mastering some basic techniques is essential. They serve as the building blocks for more complex creations and can enhance the look and feel of your handmade jewelry. Below are some foundational methods that every jewelry maker should know.
Wire Wrapping for Beginners
Wire wrapping is a versatile technique for creating intricate designs without the need for soldering. Start by selecting the right gauge wire for your project—thinner for delicate work and thicker for structure. Use your pliers to twist, loop, and coil the wire around beads, gemstones, or itself to form pendants, links, and clasps. This method is ideal for those starting in jewelry making because it requires minimal tools and materials. With practice, you can create eye-catching patterns that add a professional touch to your jewelry.
Introduction to Beading
Beading is another fundamental skill that allows for endless creativity. Begin by choosing beads that complement your design and string them together using beading wire or thread. You could also explore different stitching methods, such as peyote, herringbone, or ladder stitch. Secure your beads with crimping pliers and finish with a clasp for a polished look. This hands-on approach is perfect for making bracelets, necklaces, and earrings with unique combinations of color, size, and texture.
Techniques for Texturing Metals
Texturing is a method to add visual interest and tactile feel to metal pieces in your jewelry. Hammering is one of the simplest ways to create texture. Use different types of jewelers’ hammers, like a ball-peen or cross-peen hammer, on an anvil to form divots or stripes on the surface of the metal. Experimenting with various hammers and striking techniques will yield unique patterns. Additionally, you can use stamps, burrs, or even household items to imprint patterns onto your metalwork. This technique enhances the character of your jewelry and can elevate the aesthetic of your designs.
Advanced Jewelry Making Techniques
As your skills progress in jewelry making, incorporating advanced techniques can transform your work from homemade to high-end.
Soldering Basics for Joining Metals
Soldering is a vital skill for creating professional pieces. It involves melting solder, a metal alloy, to join two metal surfaces. Start with a clean surface, and use flux to prevent oxidation. Heat the metal, not the solder directly, and apply solder to the joint. It flows toward the heat, creating a strong bond upon cooling. Remember, safety is crucial when soldering, so wear protective gear and work in a ventilated space.
Working with Precious Metals
Gold, silver, and platinum elevate the luxury of jewelry. When working with precious metals, understand their melting points and hardness. For example, gold comes in various carats, with higher numbers indicating more gold content and a softer material. Platinum is tough and withstands high temperatures, requiring special handling. Use appropriate tools and techniques for each metal type to ensure quality and durability.
Stone Setting Fundamentals
Setting stones is where art meets precision. Choose a setting style that complements your stone and design, like prong, bezel, or pave. Securely place the stone, ensuring it’s level and firm. Use a pusher tool or bezel roller to tighten the setting around the stone. Mastering stone setting can give your jewelry an exquisite, tailor-made appearance, impressing even the most discerning customers.
Finishing Touches
Giving your jewelry the perfect finish enhances its beauty and value. Here are key steps for those crucial final touches.
Polishing and Cleaning Finished Jewelry
Once a piece is assembled, it’s time for polishing and cleaning.
- Polishing: Use a jeweler’s cloth to rub the surface of the metal. This removes tarnish and brings out shine.
- Cleaning: Soak the jewelry in a mild soap solution. Gently brush with a soft toothbrush to clean intricate parts.
- Drying: Pat dry with a lint-free cloth. Ensure there’s no moisture, which can cause spots or tarnish.
Remember, clean jewelry looks professional and is more appealing to customers.
Adding Clasps, Closures, and Connections
No piece is complete without functional and aesthetic clasps or connections.
- Clasps: Choose a clasp that fits your design. Options include lobster clasps, toggles, or magnetic closures.
- Jump Rings: Attach these small metal rings to add length or connect parts of the jewelry.
- Threading: Thread and knot cords securely. Use crimp beads to hold everything in place.
These elements are crucial for the usability and durability of your creations. Pay attention to detail to ensure a high-quality finish.
Packaging and Presenting Your Handmade Jewelry
The final step in jewelry making is how you package and present your creations. Good packaging can protect your jewelry and make it more appealing to customers. Here are some key considerations for packaging and presenting your handmade pieces.
Creative Ways to Package Jewelry
- Custom Boxes: Create boxes with your brand’s logo for a professional touch.
- Organza Bags: These are elegant, lightweight, and cost-effective for packaging.
- Recycled Materials: Use eco-friendly options, such as recycled paper or cardboard.
- Themed Packaging: Match the package to the style of jewelry for a cohesive look.
- Personalized Notes: Include a handwritten note to add a personal connection with the buyer.
Packaging is not just about protection; it’s an extension of your brand and an opportunity to impress your customers.
Tips for Photographing Jewelry for Selling Online
- Natural Light: Use soft, natural light to capture the true colors of your jewelry.
- Simple Backgrounds: A plain background lets your pieces stand out without distraction.
- Close-Ups: Take close-up photos to show detail and craftsmanship.
- Multiple Angles: Provide several views to give a complete sense of the piece.
- Consistent Style: Keep a uniform style across all photos for cohesive branding.
High-quality images are crucial in online sales; they can be the deciding factor for customers making a purchase. Combining excellent packaging with superb photography will ensure your handmade jewelry stands out in the marketplace.
Finding Inspiration and Further Education
Jewelry making is an art form that thrives on creativity and continuous learning. As you hone your skills and expand your craft, seeking new sources of inspiration and education is key to keeping your work fresh and engaging.
Resources for Jewelry Making Ideas
There are a myriad of places to find inspiration for your next jewelry piece. Here’s a condensed list to spark your creativity:
- Nature: Look to the natural world for patterns, colors, and textures.
- Art and History: Study different eras and art movements for unique styles.
- Fashion Trends: Keep an eye on the latest trends in the fashion industry.
- Craft Blogs and Magazines: Subscribe to publications covering jewelry and crafts.
- Social Media: Platforms like Pinterest and Instagram showcase countless designs.
These resources can provide fresh perspectives and stimulate new ideas for your jewelry making projects. Remember to blend these inspirations with your personal style to create unique pieces.
Workshops and Online Classes for Skill Improvement
Investing in your education is as important as investing in tools. Here are options:
- Local Workshops: Join community classes for hands-on experience.
- Online Courses: Platforms like Udemy or Skillshare offer tutorials on various techniques.
- YouTube Tutorials: Free and accessible for learning specific skills.
- Craft Fairs and Conventions: Attend events for workshops and networking.
- Art Schools: For more formal education, consider courses at art institutions.
Whether you prefer in-person interaction or learning at your own pace online, there’s a wealth of knowledge available to help you refine your craft. These educational resources are valuable for both beginners and seasoned jewelry makers alike.