Introduction to Beats Earphone Replacement
When your beats earphones start to fail, it’s time to consider a replacement. Maybe the sound quality has degraded, or perhaps the physical condition shows wear and tear. Whatever the reason, getting a new pair is essential for experiencing your music at its best. Replacement involves understanding your options, finding the right parts, and following a careful process to ensure success.

In this guide, we will look at the signs signaling the need for replacement. We will then explore the various options available for beats earphone replacement. This includes DIY solutions, professional services, and how to choose the right parts. Our step-by-step guide will help you navigate the replacement process. We will also cover troubleshooting for any issues that may arise and how to maintain your earphones to prevent future problems.
Whether you’re a tech-savvy individual or new to electronics, this guide will assist you in getting your beats earphones back to peak performance. Let’s dive into the process of beats earphone replacement and turn a potential headache into a simple task.
Identifying the Need for Replacement
Recognizing when it’s time for beats earphone replacement is key to uninterrupted audio enjoyment. Here are common signs that suggest your earphones may require replacement:
- Poor Sound Quality: If your music sounds muffled or you hear static, it could mean the earphones’ sound drivers are damaged.
- Physical Damage: Look for any visible damage like torn earbuds or exposed wires. These physical signs indicate immediate need for replacement.
- Unreliable Connectivity: Frequent disconnections or trouble pairing with devices may signal a fault in the earphones’ wireless capabilities.
- Battery Issues: For wireless models, if the battery no longer holds a charge or charges very slowly, it’s a sign that the battery life has diminished.
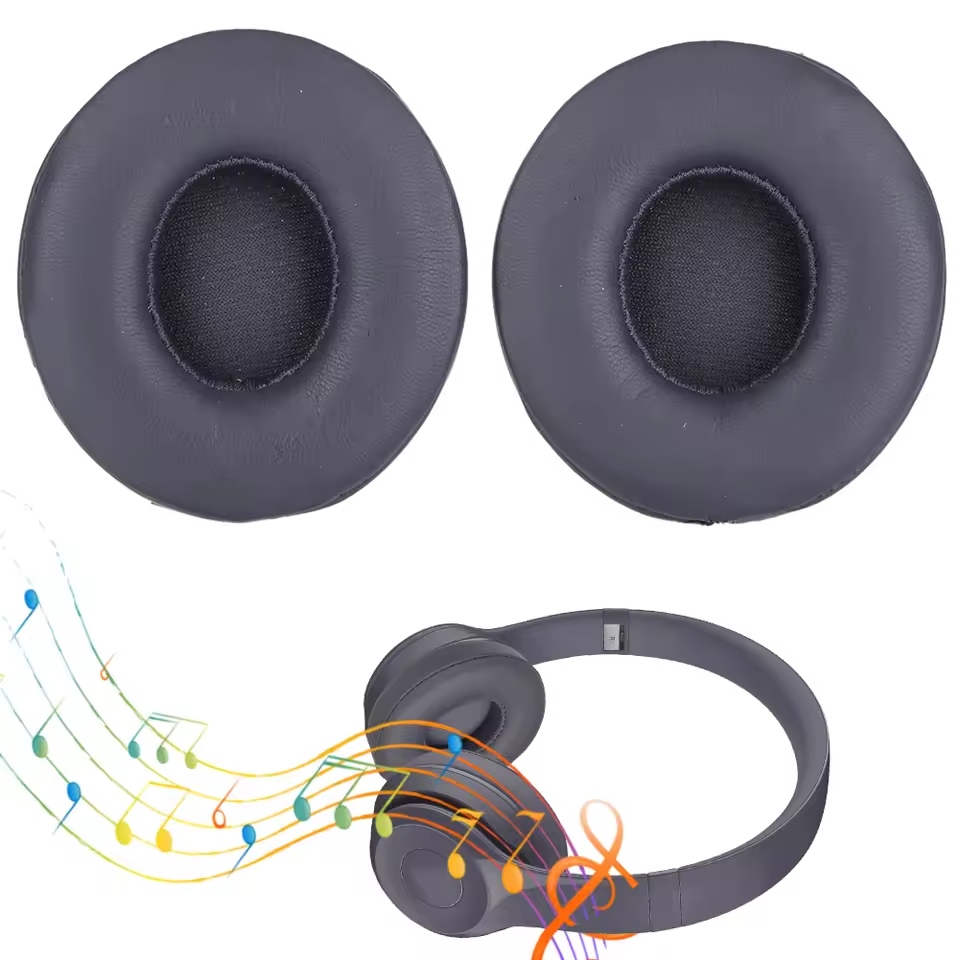
- Comfort Problems: When earbuds start to cause discomfort or don’t fit properly, it might be time to consider new ones for better comfort.
- Aging: Earphones typically have a lifespan. If yours have been used extensively over several years, wearing out is inevitable.
When these issues appear, it’s wise to act promptly. Prolonged use of defective earphones can lead to a subpar experience and may even affect your hearing. Once you’ve identified these problems, you can explore the next stages in the process of beats earphone replacement.
Options for Beats Earphone Replacement
When it comes to beats earphone replacement, you have several paths to choose from. Picking the right option depends on factors like budget, expertise, and personal preference. Below, we’ll discuss the main avenues available for getting your beats earphones back in action.
Do-It-Yourself (DIY) Repair
For the hands-on person, DIY repair might be the way to go. This involves buying the necessary parts and doing the replacement yourself. It’s a cost-effective method but requires some technical knowledge. Not all issues may be within your ability to fix, so assess your skills honestly before starting.
Manufacturer Services
If DIY isn’t your style, consider sending your earphones back to the manufacturer. Beats typically offers repair or replacement services for their products. Check if your earphones are still under warranty, as this can save on costs.
Professional Repair Shops
Local repair shops are great for quick fixes. They usually have trained technicians who can diagnose and solve complex issues. The cost can be higher than DIY but comes with the assurance of professional workmanship.
Online Repair Services
You can also find online services that specialize in earphone repairs. They offer mail-in options for convenience. Ensure you choose a reputable service with good customer reviews to avoid scams.
Buying New Earphones
Sometimes, the best solution is to buy a new pair of beats earphones. This is often the case when repairs are too costly or complex. New earphones come with a warranty and the latest features.
Choosing the right replacement option for your beats earphones will lead to better performance and longevity of your device. Consider your situation, budget, and the expense involved to make the most informed decision.
Step-by-Step Guide to Replacing Beats Earbuds
Replacing your beats earphone buds is a straightforward process if you follow these simple steps:
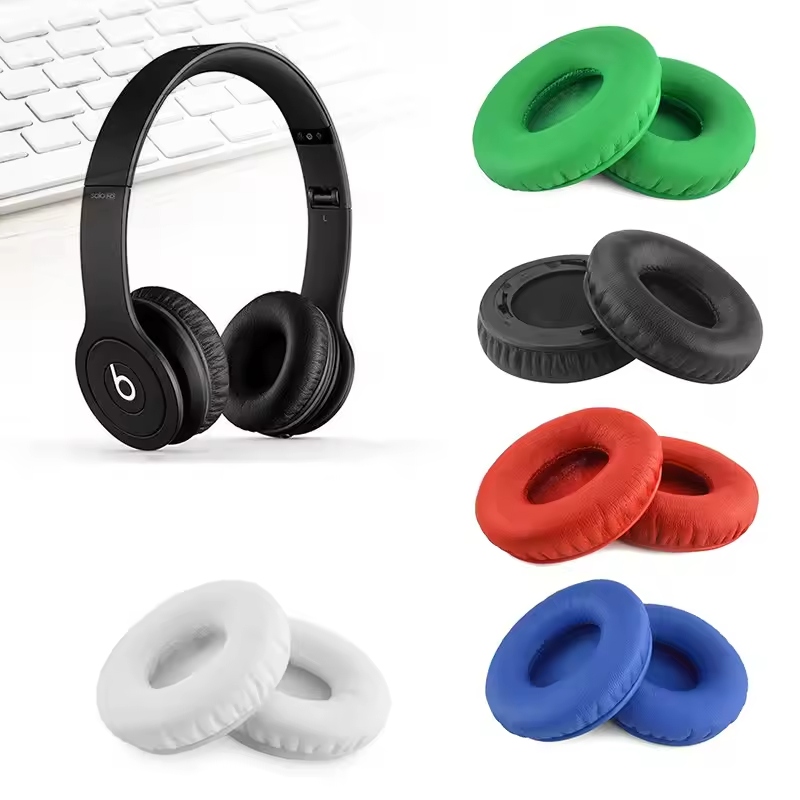
- Gather Tools and Parts: Before you begin, make sure you have all the necessary tools and replacement parts. You will need a small screwdriver, new earbuds, and possibly adhesive, depending on your model.
- Disassemble Earphones Carefully: Using the screwdriver, gently open the earphone casing. Handle all parts with care to avoid damage.
- Remove the Old Earbuds: Once open, carefully remove the damaged or old earbuds from the earphones. Be mindful of the wiring and connectors.
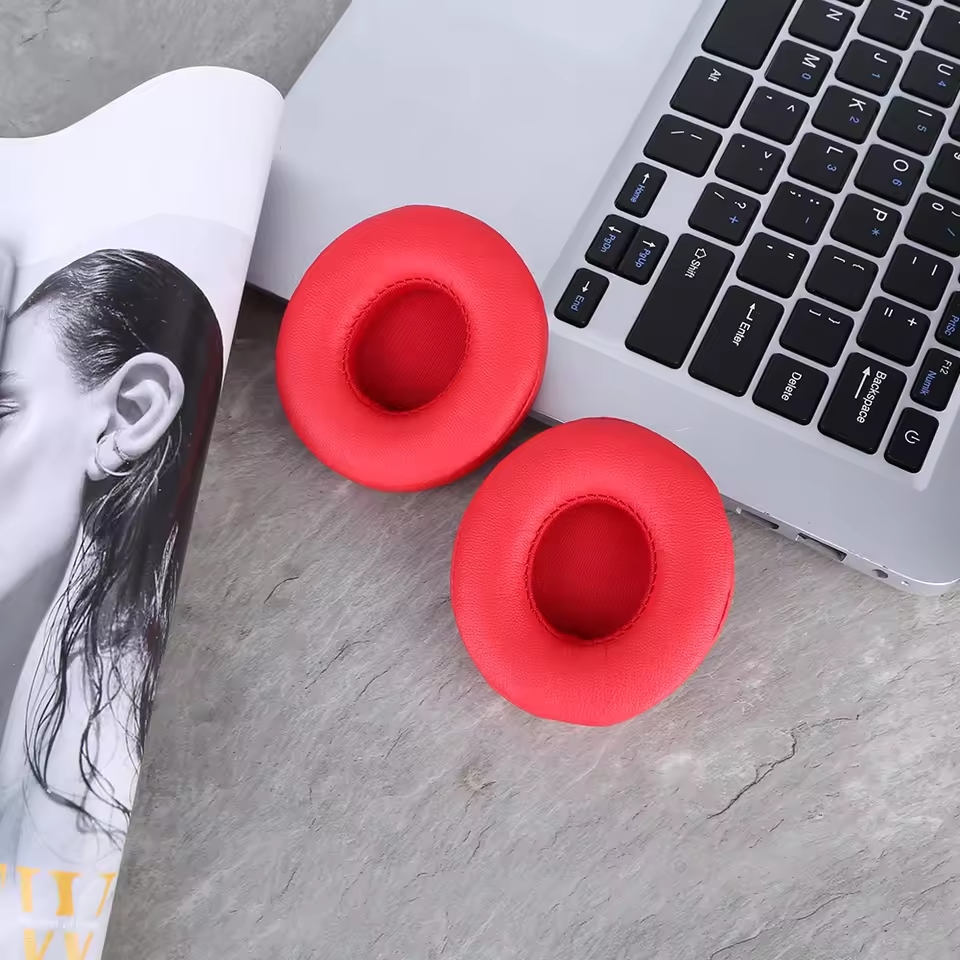
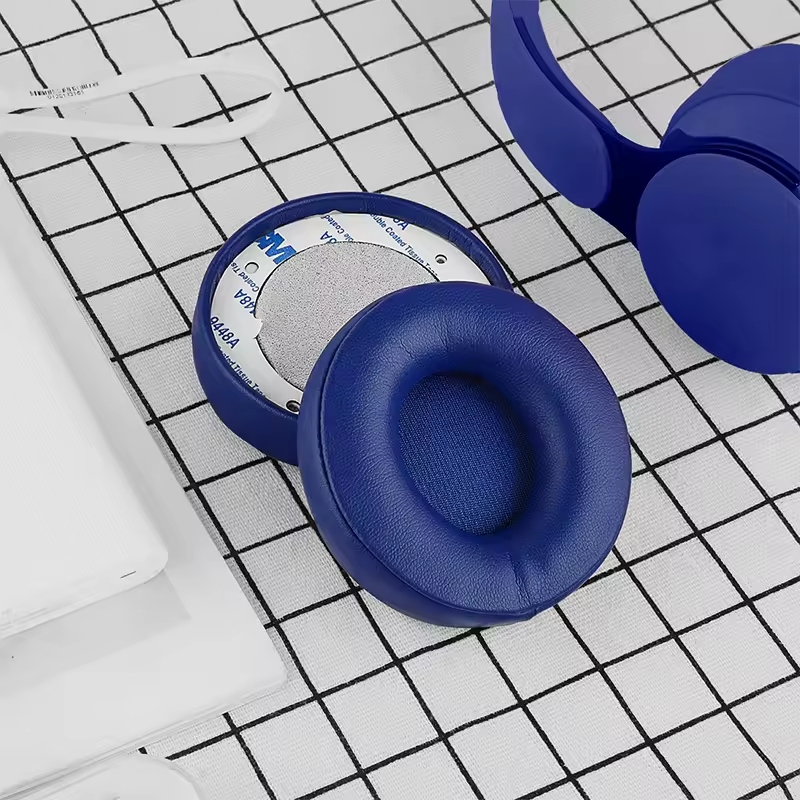
- Attach New Earbuds: Place the new earbuds onto the earphones. Secure them in place, ensuring a snug fit. If needed, apply adhesive to keep them steady. Do not touch the adhesive for a few minutes to allow it to set.
- Reassemble Earphones: Once the new earbuds are in place, reassemble the earphone casing. Make sure all components are properly aligned.
- Test Your Earphones: After reassembling, connect your earphones to a device and play some music. This will help you confirm that the replacement was successful and the sound quality is restored.
- Perform Final Checks: Check that the new earbuds sit comfortably in your ears and do not cause any discomfort. Ensure the earphones’ functionality is fully restored.
By carefully following these steps, you can achieve a successful beats earphone replacement. This will extend the life of your earphones and improve your listening experience.
Troubleshooting Common Issues During Replacement
When you undertake beats earphone replacement, you might face hurdles. Common issues can include difficulties opening the casing, damaged wires during disassembly, or poor sound quality after fitting new earbuds. Here’s how to handle these problems.
- Opening the Casing: If the earphone casing is tough to open, apply gentle pressure. Do not force it as this may cause damage.
- Damaged Wires: Be gentle when removing old earbuds. If wires break, you’ll need professional help or soldering skills to fix them.
- Poor Sound Quality: After replacement, test the sound. If quality is poor, check connections between earbuds and wiring. Ensure everything is secure.
- Comfort Issues: New earbuds should fit snugly. If they don’t, make sure you have the correct size. Sometimes, adjusting them can improve comfort.
- Adhesive Problems: If earbuds don’t stick, the adhesive may need more time to set. Wait a while before testing the earphones again.
- Reassembly Difficulties: When putting the earphones back together, ensure all parts align correctly. Misalignment can cause issues with sound and functionality.
Addressing these issues during beats earphone replacement will help you avoid interruptions in your listening experience. If problems persist, seeking assistance from a professional may be the best course of action.
Maintaining Your Beats Earphones Post-Replacement
After replacing your beats earphones, proper maintenance is crucial. It ensures they last longer and perform well. Here’s what you should do to maintain your earphones:
- Keep Them Clean: Regularly clean your earbuds and the mesh covering the drivers. Use a soft, dry cloth to wipe away any debris or earwax.
- Store Safely: When not in use, keep your earphones in a case. This protects them from damage and keeps them clean.
- Handle with Care: Be gentle when plugging and unplugging your earphones. Rough handling can damage the jack or cable.
- Avoid Extreme Temperatures: Don’t leave your earphones in direct sunlight or in cold conditions for too long. Extreme temperatures can harm the electronics.
- Keep Dry: Avoid using your earphones near water. Moisture can damage the electronic components inside.
- Regular Inspection: Check your earphones often for signs of wear and tear. Catching issues early can prevent bigger problems.
- Charge Properly: For wireless models, follow the manufacturer’s instructions for charging. Overcharging can reduce battery life.
By following these maintenance tips, you can enjoy your beats earphone replacement for years to come. Proper care ensures top performance and saves money on future replacements.
Where to Find Replacement Parts for Beats Earphones
When starting your beats earphone replacement, finding the right parts is crucial. Here’s where you can look:
- Official Beats Website: Visit the Beats by Dre website for OEM parts. These come with a guarantee but may cost more.
- Electronics Retailers: Stores like Best Buy often stock earphone parts. They offer both OEM and third-party options.
- Online Marketplaces: Websites like Amazon or eBay list various sellers. Look for high ratings to ensure quality.
- Specialty Audio Stores: These shops focus on high-quality audio equipment. They often carry premium replacement parts.
- Repair Shops: Some repair shops sell parts besides offering services. It’s a good way to get professional advice too.
- Social Media Groups: Joining audio enthusiast groups can help. Members may sell parts or provide sourcing tips.
When searching for parts, be sure to check compatibility with your earphone model. Avoid counterfeit parts as they can cause more harm than good. Remember, using the right parts ensures your beats earphones work like new again.
Conclusion: Ensuring Optimal Performance of Your Beats Earphones
In conclusion, proper beats earphone replacement leads to long-lasting enjoyment and optimal performance. Always identify signs of wear and choose the right course of action. You have DIY repair, manufacturer, professional shop, online services, or purchasing new ones as options. Each path suits different preferences and budgets.
Be prepared with the right tools and parts for a successful replacement. Follow the guide above to swap out old earbuds with ease. For hiccups during the process, the troubleshooting section offers solutions. Maintain your earphones well post-replacement to enhance their lifespan. Clean regularly, handle with care, and store correctly.
Finding quality replacement parts is easy. Check the official website, electronics retailers, online platforms, audio stores, or even social media for resources. Remember, the right parts guarantee a smooth experience.
Your beats earphones are an investment in great sound. Take care of them, and they will serve you well. Whether through replacement or maintenance, preserve the superior audio experience that Beats is known for. With the steps outlined in this guide, you’re all set to enjoy your favorite tunes without interruption.