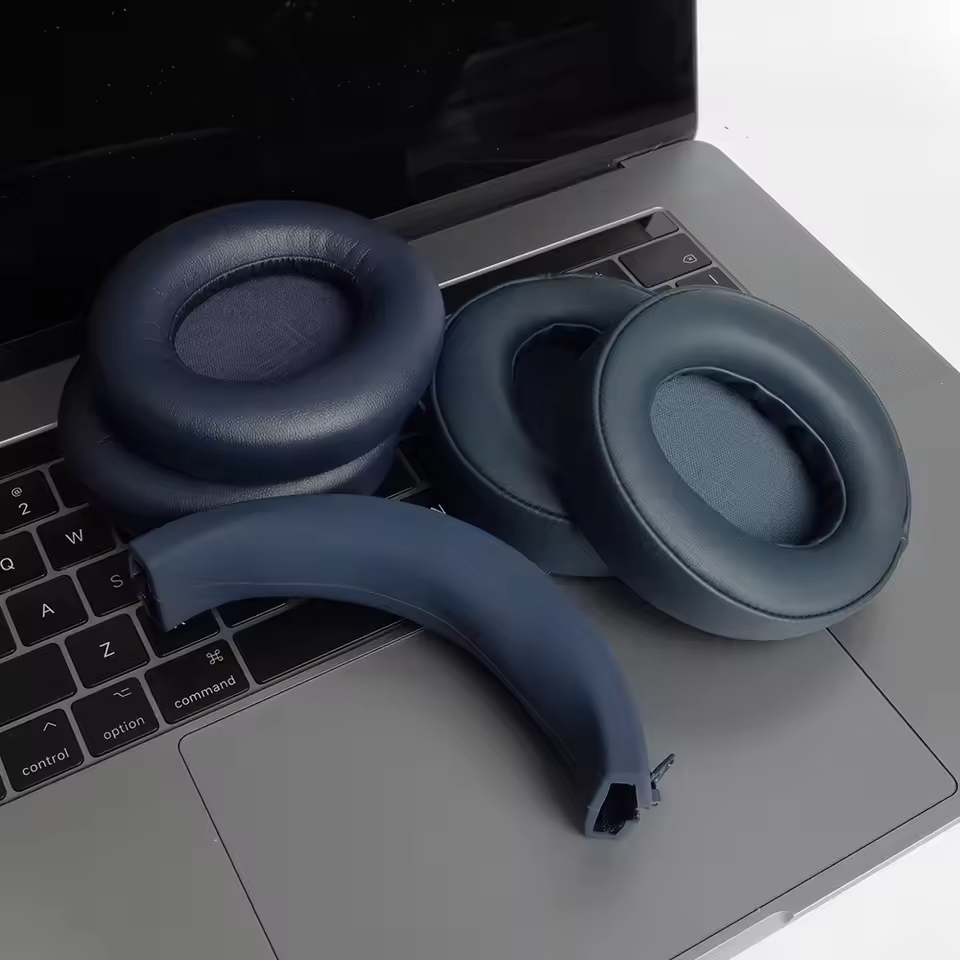
Introduction to Bose Earphone Pad Replacement
Earphone pads wear out with time. It’s normal. For music lovers with Bose earphones, comfort and sound quality can’t suffer. That’s why knowing how to replace Bose earphone pads is key. It saves you time and keeps your tunes playing in top condition. With the right tools and steps, you can swap out old Bose earphone pads for new ones. It’s simple. It’s fast. And it doesn’t need a professional touch. Remember, using the correct Bose earphone replacement pads is crucial. The fit must be perfect to ensure your listening comfort is restored.

In this guide, we’ll walk you through everything. From when to replace your pads, to troubleshooting common issues. By the end, you’ll know how to maintain your Bose earphone pads for their best and longest use. Ready to get your earphones feeling like new? Let’s dive in.
Tools and Materials Needed for Replacement
Before starting the pad replacement process for your Bose earphones, gather the necessary items. Having the right tools will make the job quicker and simpler. Here’s what you need:
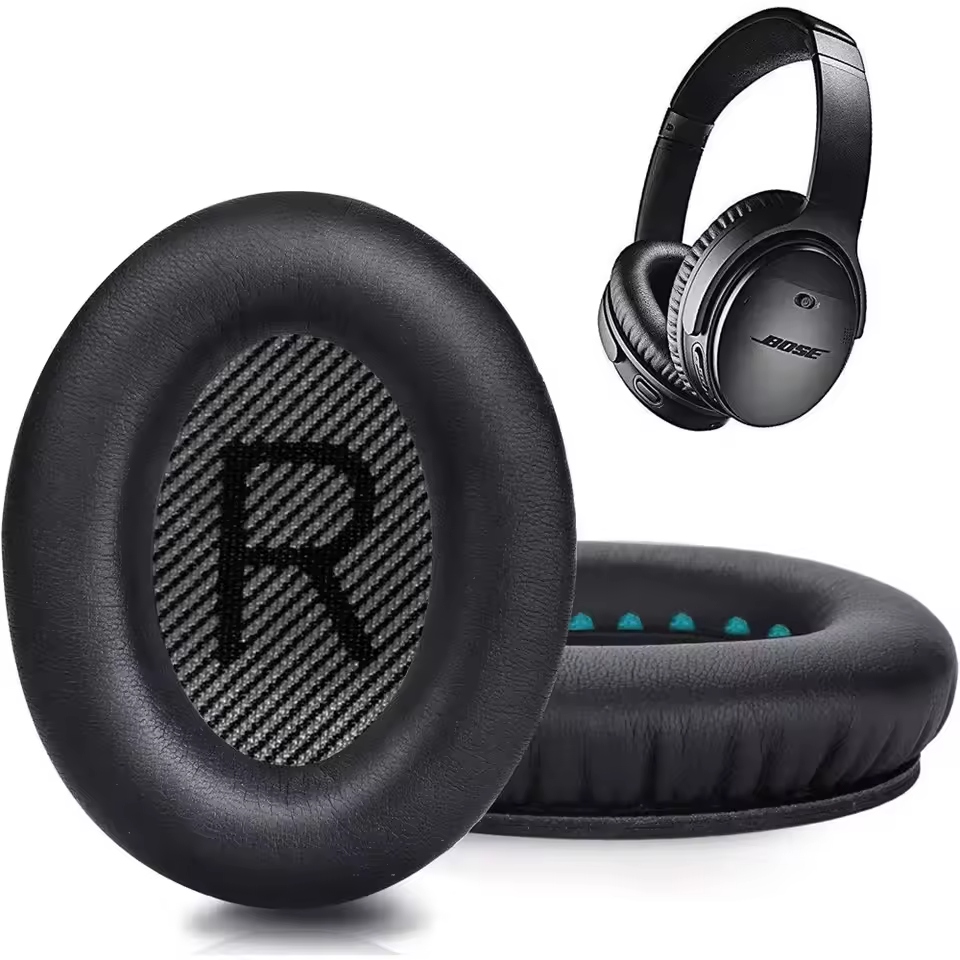
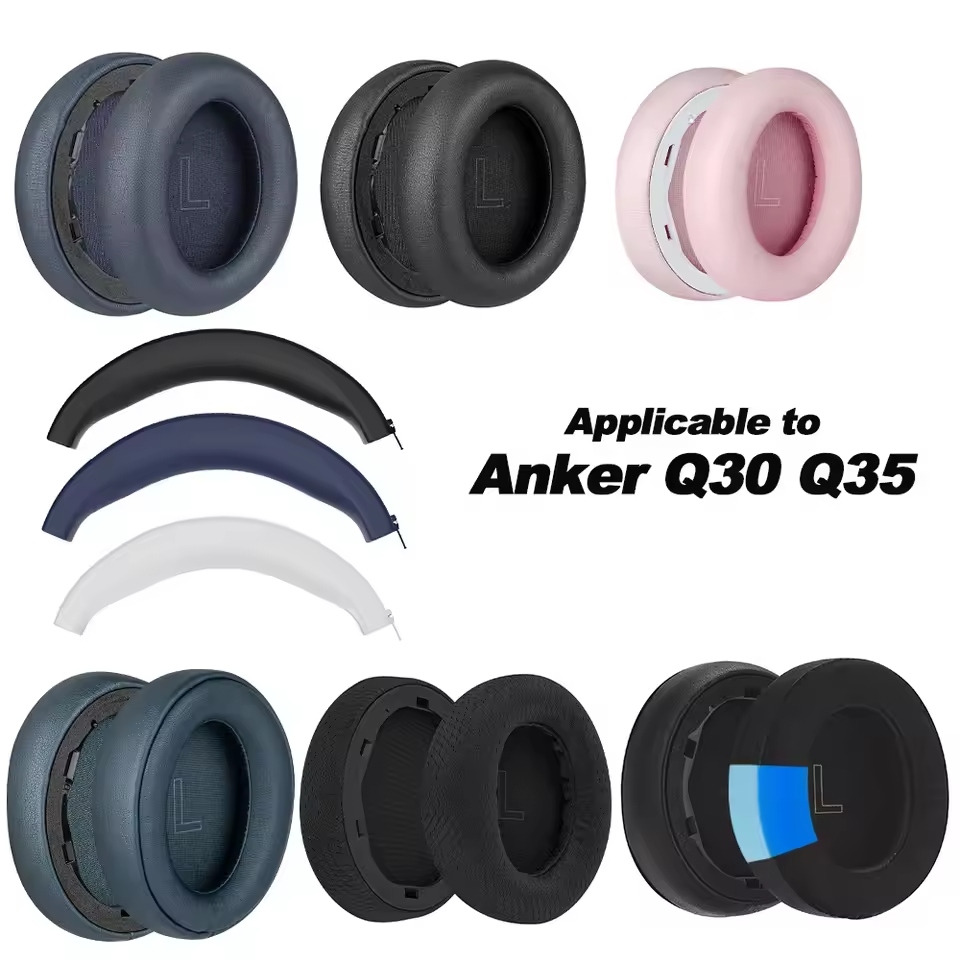
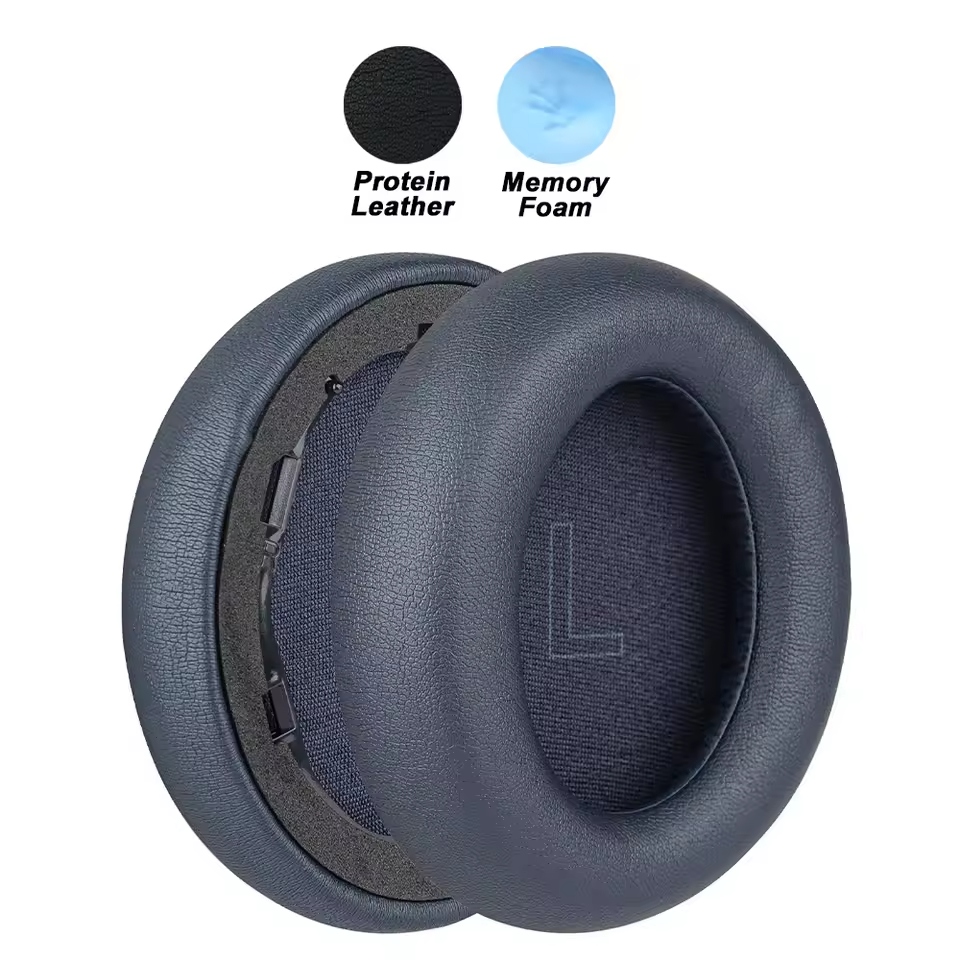
- New Bose Earphone Replacement Pads: Make sure they are compatible with your specific model.
- Small Flathead Screwdriver: For prying the old pads off gently.
- Cleaning Cloth: Preferably microfiber, to clean the earphone surface.
- Isopropyl Alcohol or Earphone Cleaning Solution: For disinfecting the earphones.
- Tweezers (optional): To handle any small parts.
Choose quality bose earphone replacement pads for the best comfort and sound experience. Start the process in a clean workspace. This helps to avoid losing any small pieces. It also prevents dust from entering the earphone’s delicate parts. Once your tools are ready, you can proceed with confidence.
Identifying When to Replace Your Bose Earphone Pads
Knowing when to swap out your Bose earphone pads is key to optimal audio enjoyment. Look out for obvious signs of wear and tear. These can include noticeable changes in the texture and color of the pads. Flattened, hard pads can hurt your ears, signaling it’s time for a change. Also, if you start experiencing a drop in sound quality, consider checking the pads. Dirty pads can muffle sound, reducing the once-crisp audio experience Bose is known for.
Regular inspection helps. Aim to check your pads every few months, depending on usage. Heavy use will shorten the life span of your earphone pads. If you come across flakes of faux leather or fabric, it’s time to buy new Bose earphone replacement pads. Lastly, listen to your comfort. Uncomfortable pads can cause ear fatigue, which means they’ve lost their cushioning effect. When this happens, upgrading your earphone experience with new pads is the right move.
Step-by-Step Guide to Removing Old Earphone Pads
Replacing your Bose earphone pads is easy. Follow these step-by-step instructions to get it done right:
- Power Off Your Device: Ensure your Bose earphones are off. This step ensures safety.
- Gently Pry the Old Pads Off: Use the flathead screwdriver. Carefully insert it beneath the pad edge. Twist slightly to loosen the pad. Avoid using too much force.
- Detach the Pads: Once loose, use your fingers to remove the pads. Work around the edges. They should come off with light pulling.
- Inspect for Damage: Check the earphone speaker area. Look for any damage or debris. Note any issues before you proceed.
Follow these steps, and removing the old Bose earphone pads will be simple. Up next, we will clean the earphones.

Cleaning Your Bose Earphones Before Installing New Pads
Keeping your Bose earphones clean is crucial before fitting new replacement pads. Dirt and oils from use can build up on the surface, which affects both comfort and sound quality. A clean base ensures the new pads adhere better and remain clean longer. Here’s how to do it properly:
- Remove Any Debris: Use a dry cloth to wipe away dust and particles.
- Disinfect the Surface: Dampen a cloth with isopropyl alcohol or an earphone cleaning solution. Gently clean the earphone where the pads attach.
- Dry the Area: After cleaning, make sure the earphones are completely dry before proceeding. Use a dry microfiber cloth.
- Inspect for Residue: Look closely to ensure no cleaning solution is left behind.
Take your time with this process. Rushing may leave moisture, which can damage the earphones or affect the pad’s adhesion. With a clean and dry surface, you’re now ready to install the new Bose earphone replacement pads.
Installing the New Replacement Pads on Your Bose Earphones
Now that your Bose earphones are clean and ready, it’s time to install the new pads. This is a straightforward process. Follow these steps to ensure a perfect fit:
- Check the Alignment: Each pad usually has a specific left and right orientation. Align them correctly.
- Position the Pads: Hold the replacement pad against the earphone. Make sure it fits the shape exactly.
- Press Firmly: Gently press the pad into place. Start from one edge and work around smoothly.
- Snap into Position: Bose earphone pads often click into place. Listen for this to confirm a secure fit.
- Inspect the Fit: Look around the edges. There should be no gaps or loose areas.
- Test the Seal: Gently tug on the pads. They should stay attached to the earphone cups.
- Repeat for the Other Side: Follow the same steps to install the second pad.
With these steps, you now have fresh Bose earphone replacement pads installed. They should feel comfortable and snug, restoring the premium sound and comfort you expect from Bose. Enjoy your revitalized listening experience.
Troubleshooting Common Issues During Replacement
Even with clear instructions, replacing Bose earphone replacement pads can sometimes hit snags. Here’s how to fix common problems:
- Pads Won’t Snap into Place: Check if you’re using the right pads for your model. Ensure they align correctly. Apply even pressure around the edge.
- Pads Seem Loose: Make sure the earphone surface is clean and dry. This helps pads stick better. Realign them and press firmly.
- Pad Tears During Installation: Be gentle. If a pad rips, you’ll need a new one. Handle replacement pads with care.
- Can’t Remove Old Pads: Don’t force them. Use the flathead screwdriver to pry gently. Start at an edge and work around.
- Sound Quality Issues After Replacement: Check for proper seal. Make sure no debris is on the speaker under the pad.
- Discomfort with New Pads: Give them time. New pads can feel different. They’ll mold to your ears with use.
By handling these issues, your pad replacement should go smoothly. Don’t rush. Take care at each step for the best results.
Maintaining Your Bose Earphone Pads for Longevity
Taking care of your Bose earphone replacement pads can extend their life and your enjoyment. Here are easy steps to help ensure they last:
- Clean Regularly: Wipe pads with a dry cloth after each use. This removes oils and sweat.
- Use Proper Cleaning Solutions: Occasionally, clean with isopropyl alcohol. Do this monthly or as needed.
- Avoid Excessive Moisture: Don’t expose your pads to water. Moisture can ruin their material.
- Store Properly: When not in use, keep your earphones in a case. This protects the pads.
- Handle with Care: When adjusting, be gentle. Rough handling can damage pads.
- Inspect Frequently: Look for wear or damage often. Early detection helps prevent bigger issues.
By following these tips, your Bose earphone replacement pads should remain comfortable and functional for a long time. Enjoy crisp, clear audio and the comfort you love with well-maintained pads.